Burning The Candle at Both Ends
Project "Road Warrior" gets an ignition upgrade
One of the many things we needed to tackle on our resident '92 LX was the ignition. Stock other than a well worn set of Ford Racing plug wires, and the required 3924 plugs; the time was now to add some muscle to the spark department. With barely 100k miles on the car, the parts weren't worn out, but they were vintage 1992, and trying to keep up with the added compression of the 58cc Trick Flow heads. The factory TFI ignition actually will withstand a ton of abuse, and aside from a few minor things; will last many years. Since we will be putting a good deal of miles on the car, we decided it was time to put some fresh parts in the fire department.
““After 24 years of flawless service, even after the new top end; it was time our original distributor was retired from active duty”. ”
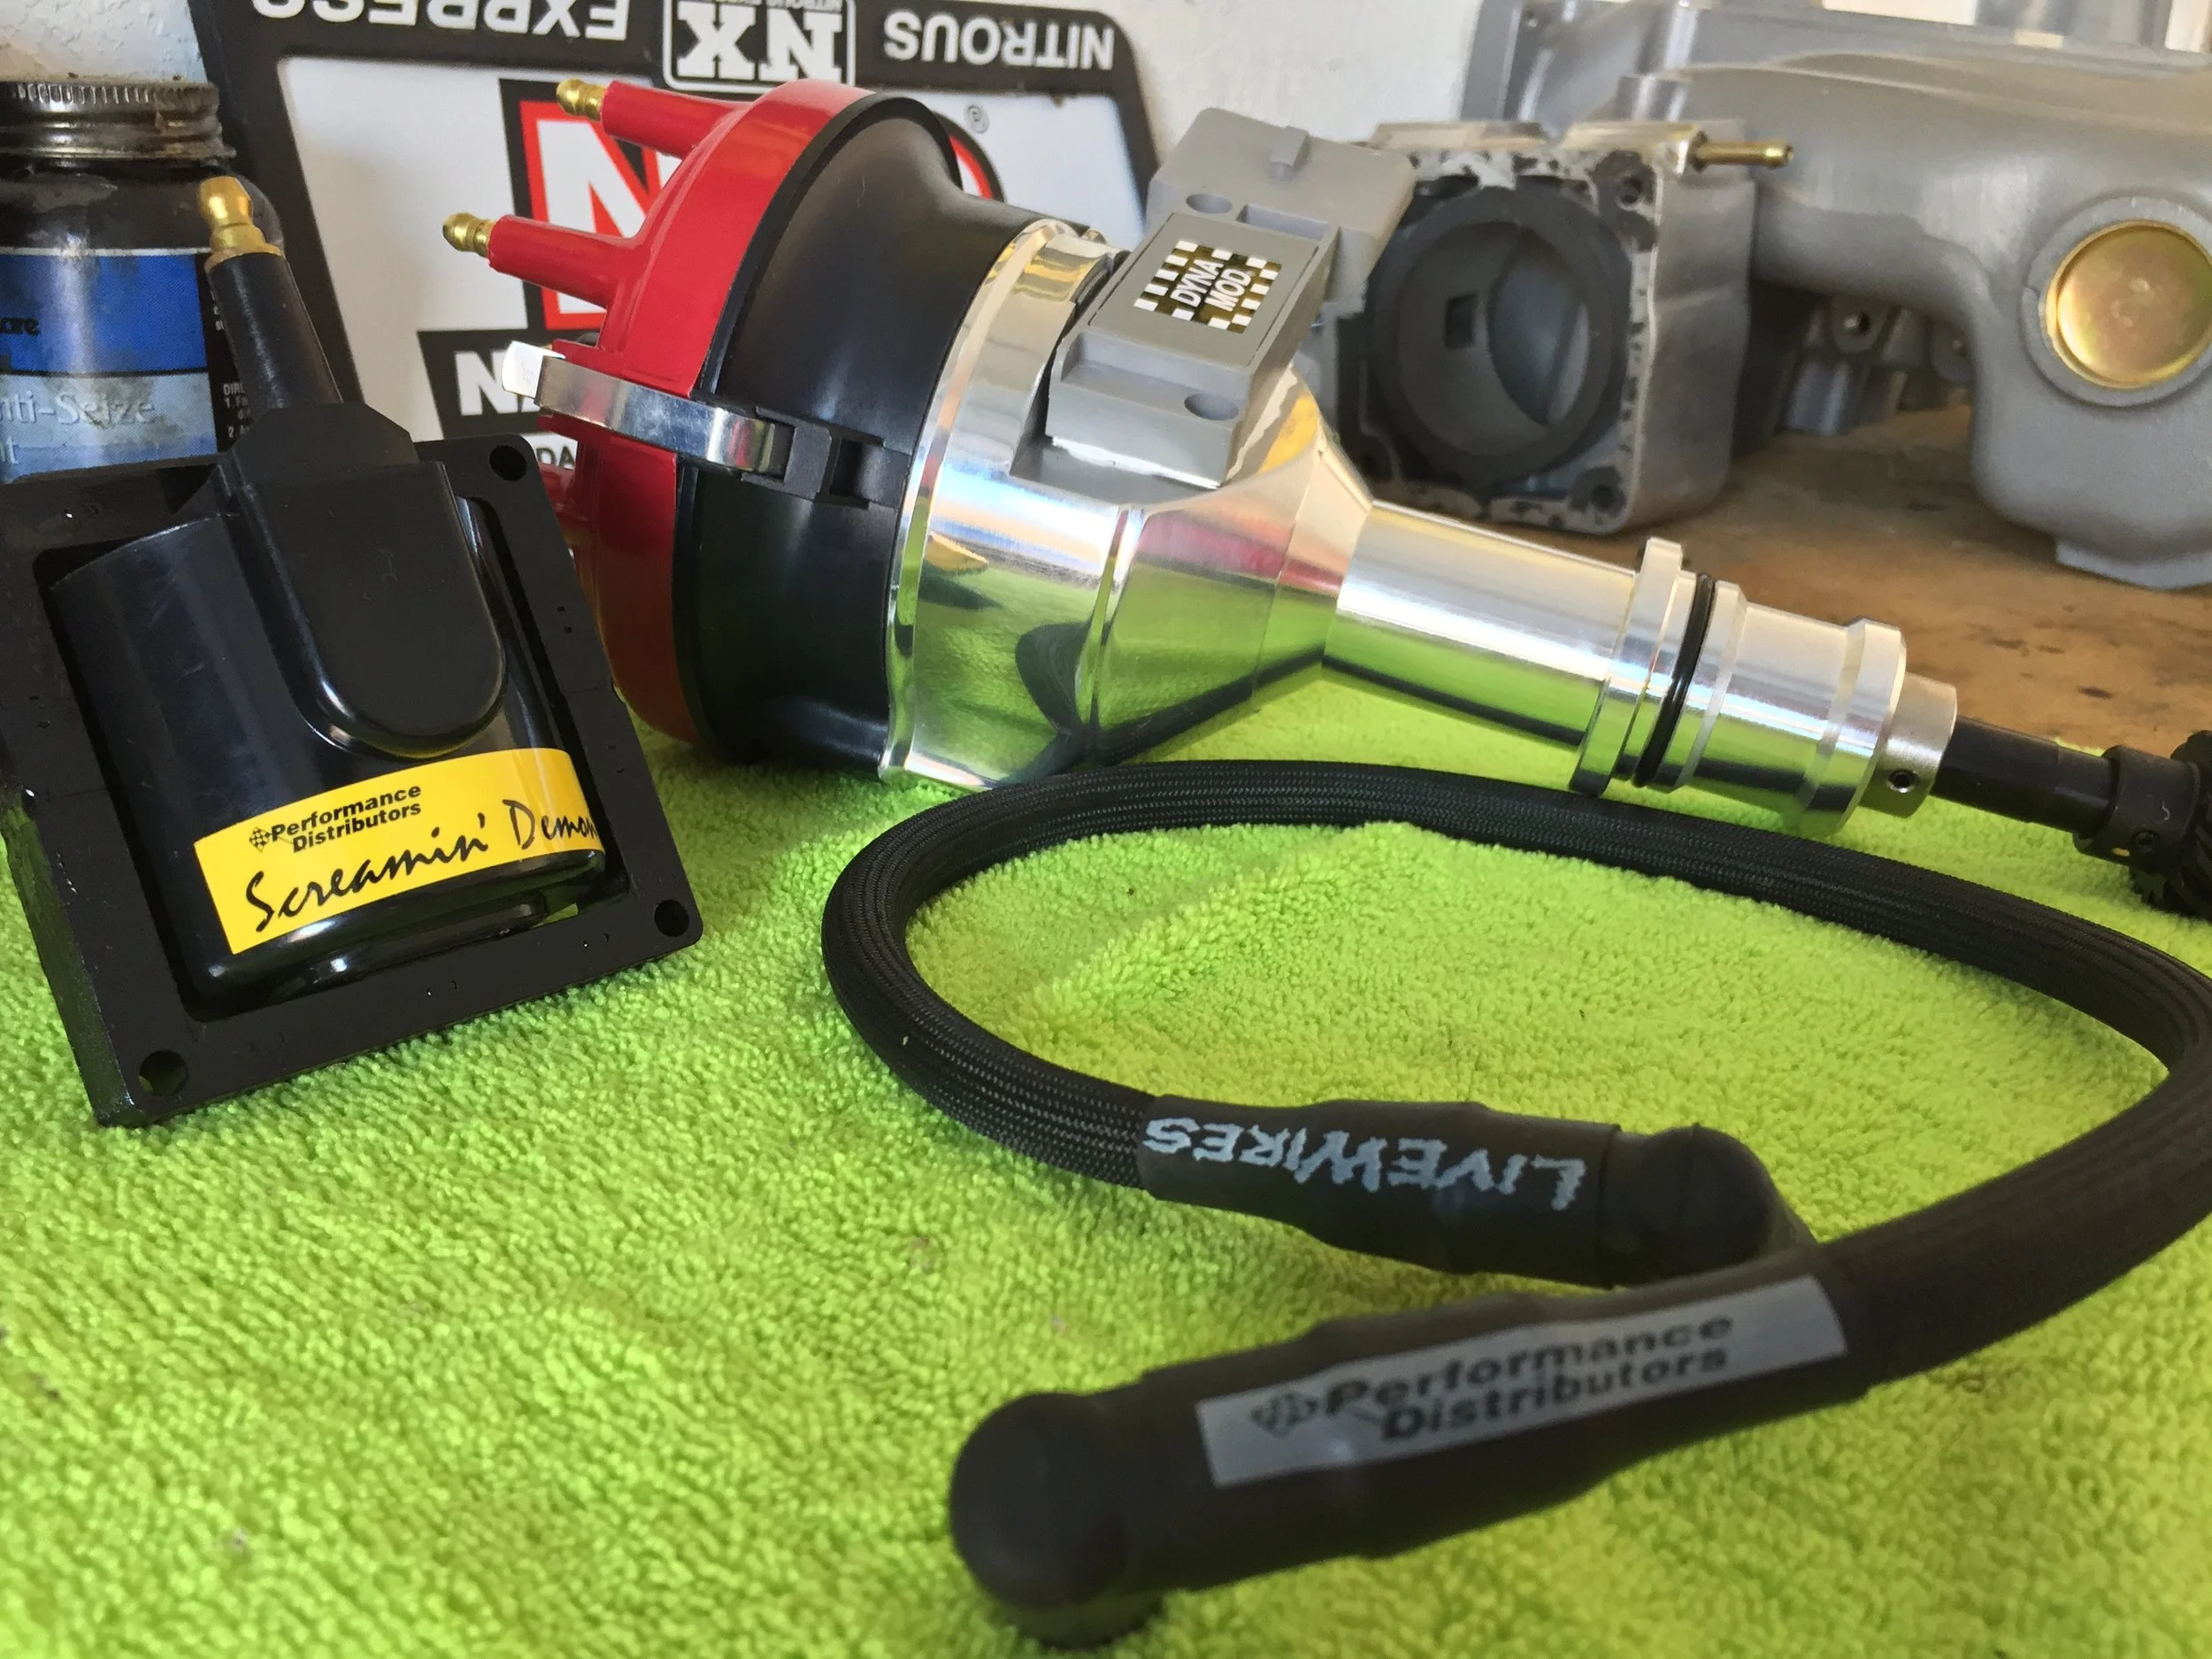
First on the list was PN 18457RD, which is their hot forged billet distributor, and comes pre installed with their Dyna Mod TFI ignition module. These distributors are handmade, and computer tested before leaving the factory. I must say the fit and finish was amazing, and almost too pretty to slide into our little small block. Next on the list was their Screamin' Demon coil. These coils are rated at over 45k volts, and should be more than enough to keep project Road Warrior's candles lit. Topping off the list of ignition upgrades are a set of Performance Distributors Livewires. We are no stranger to these wires, having run them on several other foxes in the past. The unique glass braid that covers the wires provides protection up to 1400 degrees. Each set is custom fit to the vehicle, numbered for each cylinder, and provides low resistance of 300-350 ohms per foot. All of these parts working together will be just what the doctor ordered for our aging ignition components.
Installing a distributor isn't rocket science, but does require some care. Start by removing the wires, the cap, and marking where the rotor button is pointing. This ensures you drop it back in the right place. Once marked, unplug the TFI module, and remove the distributor hold down. Carefully lift straight up on the unit to free it from the engine. Once out, stuff a rag in the hole for some added insurance.
With the distributor out of the way, add a liberal dose of the provided cam & lifter prelube to the gear on the new unit. Remove the provided cap, and orientate the TFI module close to where the old one was. As you will need to recheck your timing when you are done, don't get too crazy worrying about this step. Taking your time, attempt to line the rotor back up with the mark you made earlier. We simply used a sharpie, and made a small dot on the upper intake plenum.
““With the addition of the new billet distributor, Screamin’, Demon coil, and those killer Livewires; project Road Warrior will have plenty of juice!””
Stabbing it back in may take a little time, just be patient and make sure you get it lined back up. The directions say you may need to rotate the oil pump driveshaft if it does not seat fully in the block. We did not have to do this step, as she slid in without a hiccup.
With the new distributor clamped back in place, snap the provided cap back onto the top. We loved the high quality construction of the cap, and the brass terminals. After much debate we chose to stick with the red, just to add a bit of color to the engine bay. Pop your wires back in place, and plug in your TFI module. Remember to double check the firing order when replacing your plug wires; the 5.0L HO uses the 5.8L firing order.
Installing the coil is a five minute affair, as the Screamin' Demon coil is a direct replacement for the original unit. Grab a 5.5mm socket and remove the four bolts that attach it to the mounting bracket, unplug the coil harness, unhook the coil wire, and viola! Not a single drop of sweat to be had. While the swap is simple, the added spark will be a welcome addition. Performance Distributors says you can even open up the gaps on your plugs to .060-.065, but we have yet to test that theory.
With barely two hours of work, project Road Warrior received some serious firepower. Initial test drive was a noticeable difference. If you have been following our project car, you know we've dealt with some random misfire issues in the past. Whether a light tip in, or matting the gas, we did not detect any stumbles. With the combination of age, and upgraded engine hardware; making some ignition upgrades should be on your short list of projects. No technical degree required, just some simple hand tools, timing light, and an afternoon in the garage! CR
Performance Distrubutors
